

 Facebook
 X
X
 Pinterest
 Copy Link
CHEAP AND EASY DIY FARMHOUSE DOOR
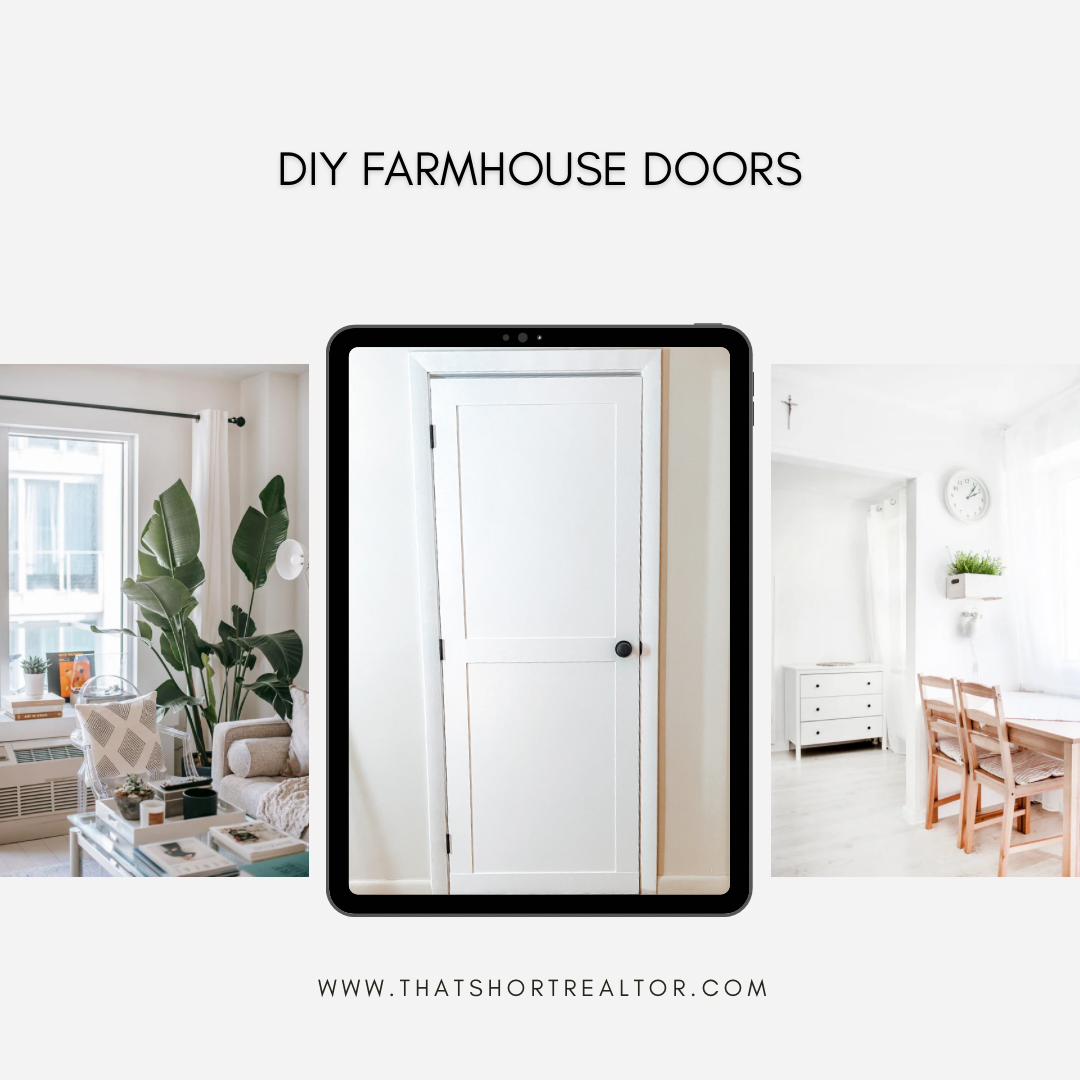
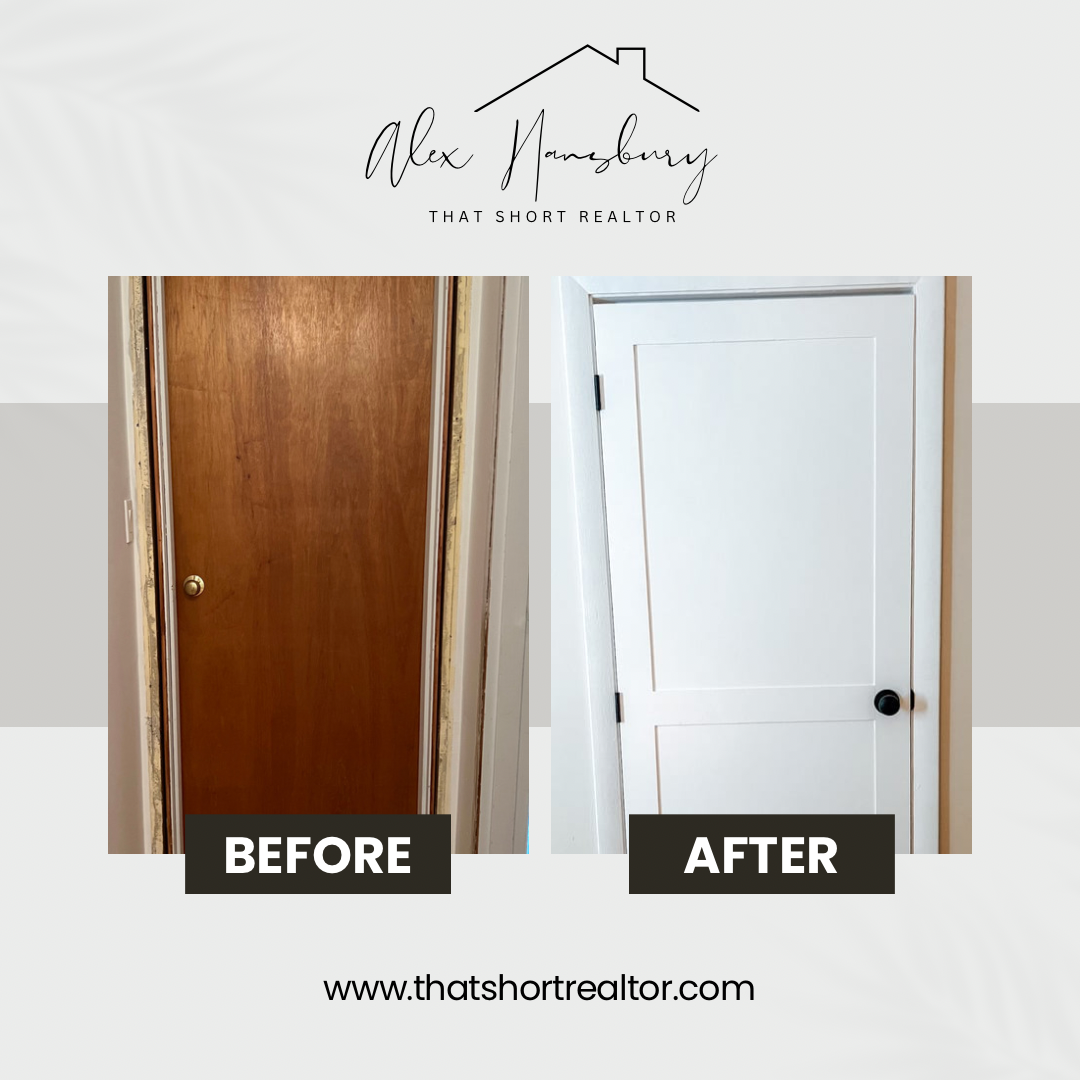
We wanted to update the interior doors throughout our home. It was roughly $200 per door we needed to replace, which for the 9 upstairs doors would have cost us $1800. And after renovating the kitchen/living room space that was NOT in the budget. So, we decided to update our own for less than $200.
Materials:
Plywood Sheet 4’x8′ – $24 (We used 3 sheets for 9 doors).
Table Saw
Hole Saw
Double Sided Mounting Tape – $8 (We used 5 rolls)
Old Interior Door
Sandpaper
Doorknob – $60 (we bought 2 – 6 packs)
Painting supplies: roller, paint brush – $10
Painting Primer (KILLZ paint- helps to stop that old brown from seeping through) – $25
Paint Color of choice: 1 Gallon – $22 (Chantilly Lace – Benjamin Moore)
Total Cost: $181 for all 9 doors – LESS THAN THE COST IF WE PURCHASED ONE NEW INTERIOR DOOR!!
Prepping the door
- Remove the old door off its hinges and remove the old doorknob
- Wipe down both sides
Adding the trim
I prefer a clean, simple minimalist look. To achieve this we kept this design simple. We added trim around all four sides of the door, with one piece in the middle of the door running through the doorknob.
- Determine how thick you want your trim pieces to be. We went with 3.5″ all the way around.
- Measure from the bottom to the top of your door. Cut 2 pieces using the table saw. For example, our doors were 80″ so we cut 2 80″ x 3.5″ pieces.
- Lay them on top of the door, making sure you cut them correctly and that everything lines up.
- Cut 2.5″ pieces of the double sided mounting tape. We put each piece 8″ apart from each other.
- Place your tape on the back side of the trim pieces. Then peel the back layer off. And CAREFULLY, flip the trim laying it down to its desired position and put pressure on the trim to seal it to the door.
- Repeat with the other side.
- Now you want to measure from the inner edge of the trim pieces to go across the top, middle, and bottom of the door. Again using the table saw, cut these pieces.
- Once those 3 pieces are cut, do another test by laying them in their desired position to ensure they will fit.
- Cut 2.5″ pieces of the double sided mounting tape. We put each piece 6″ apart from each other.
Cutting the Door Knob hole
- Measure the width of the opening on the back side of the door.
- Using a hole saw, cut through the trim to line up the hole with the existing doorknob hole.
- Be sure to sand around the cut on the trim to prevent any splintering before painting.
Painting
- Caulk the interior edges of the trim pieces to the door.
- Caulk the exterior of the door between the existing door and the newly added trim pieces. Wait 2 hours.
- Using KILLZ paint, prime the door using a combination of a roller brush and a paint brush for the edges.
- Once dry, paint your first coat on the door. Our whole home is white walls and white trim. We LOVE Chantilly Lace by Benjamin Moore for this. We used the Satin sheen for the trim and doors.
- Allow dry time of at least 24 hours and apply a second coat.
Re-installing the Door
- Add your new doorknob and hinges to the door. Bring the door back inside and attach the hinges to the door jamb.
If you complete this DIY hack, please be sure to tag me on instagram @thatshortrealtor
